Friday, September 10, 2010

PW's Cinnamon Bread

I owe my loyal blog followers an apology (IF there are any of you left). Julie and I have wonderful intentions of baking through Southern Living's list of top 10 cakes. But until then, I highly suggest Pioneer Woman's Cinnamon Bread.


I failed to document the whole process because it lasted, on a "school night," till 12:30 pm. Even so, it was highly worth it and my 3rd (successful) attempt at bread baking. I was able to make this with a hand mixer and some elbow grease.

We eventually used it for french toast. David claimed it made the "best french toast he had ever eaten." That is a bold claim. I will leave you with a a few pictures...


Monday, July 12, 2010

Pralines (prä-lēns vs. prā-lēns)


A group of us had a discussion Memorial Day weekend about the pronunciation of these wonderful candies.  Since then, they have been stuck in my head.  I call them praw-leens.  I was the only one in the car who pronounced them that way.  Turns out, that is not surprising since, according to Wikkipedia, most of Alabama and Georgia pronounce them pray-leens.  What do you call them?

Julie and I (once again) tried 2 recipes.  One is Paula Dean's recipe and the other I found on Food Network added by a member.  They were fairly different so we tried to get a tasting of two methods. You will find out Paula did not disappoint.


Ingredients:
1 1/2 cups sugar
1 1/2 cups packed light brown sugar
1/8 teaspoon salt
3 tablespoons dark corn syrup
1 cup evaporated milk
2 tablespoons butter
1 teaspoon pure vanilla extract
1 1/2 cups pecan halves

 
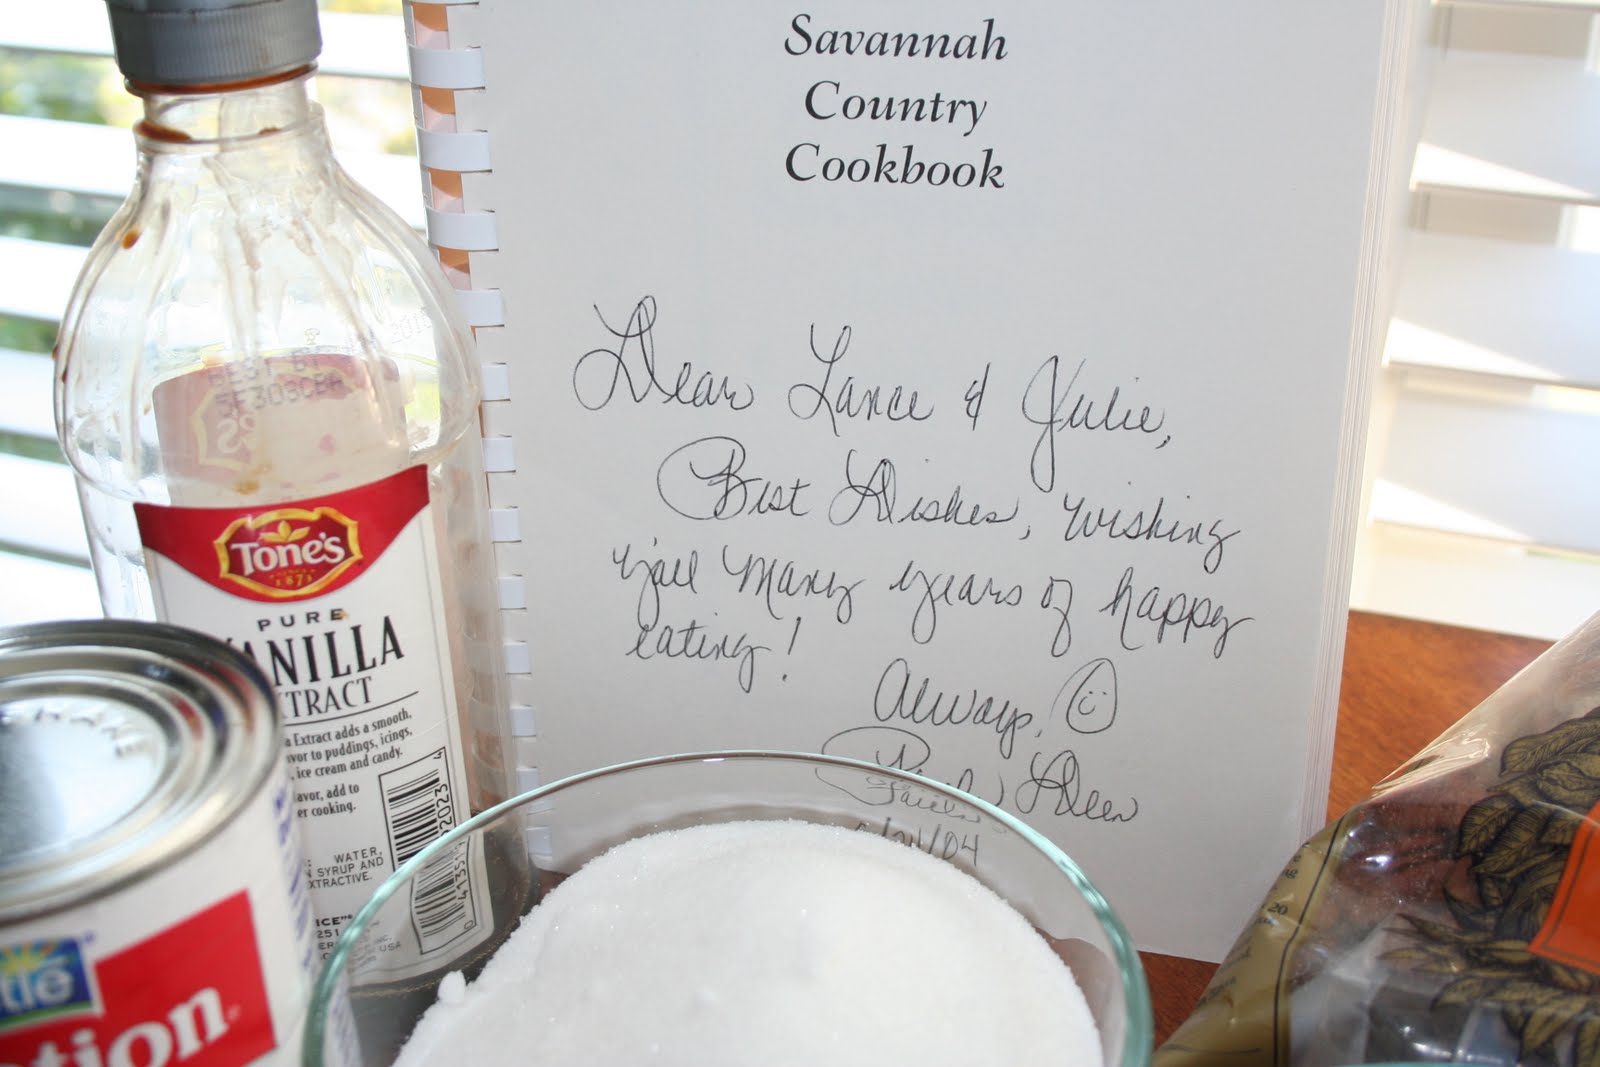
(I had to add this picture because it was too appropriate.  Lance and Julie were gifted this cookbook on their wedding. How appropriate?!)

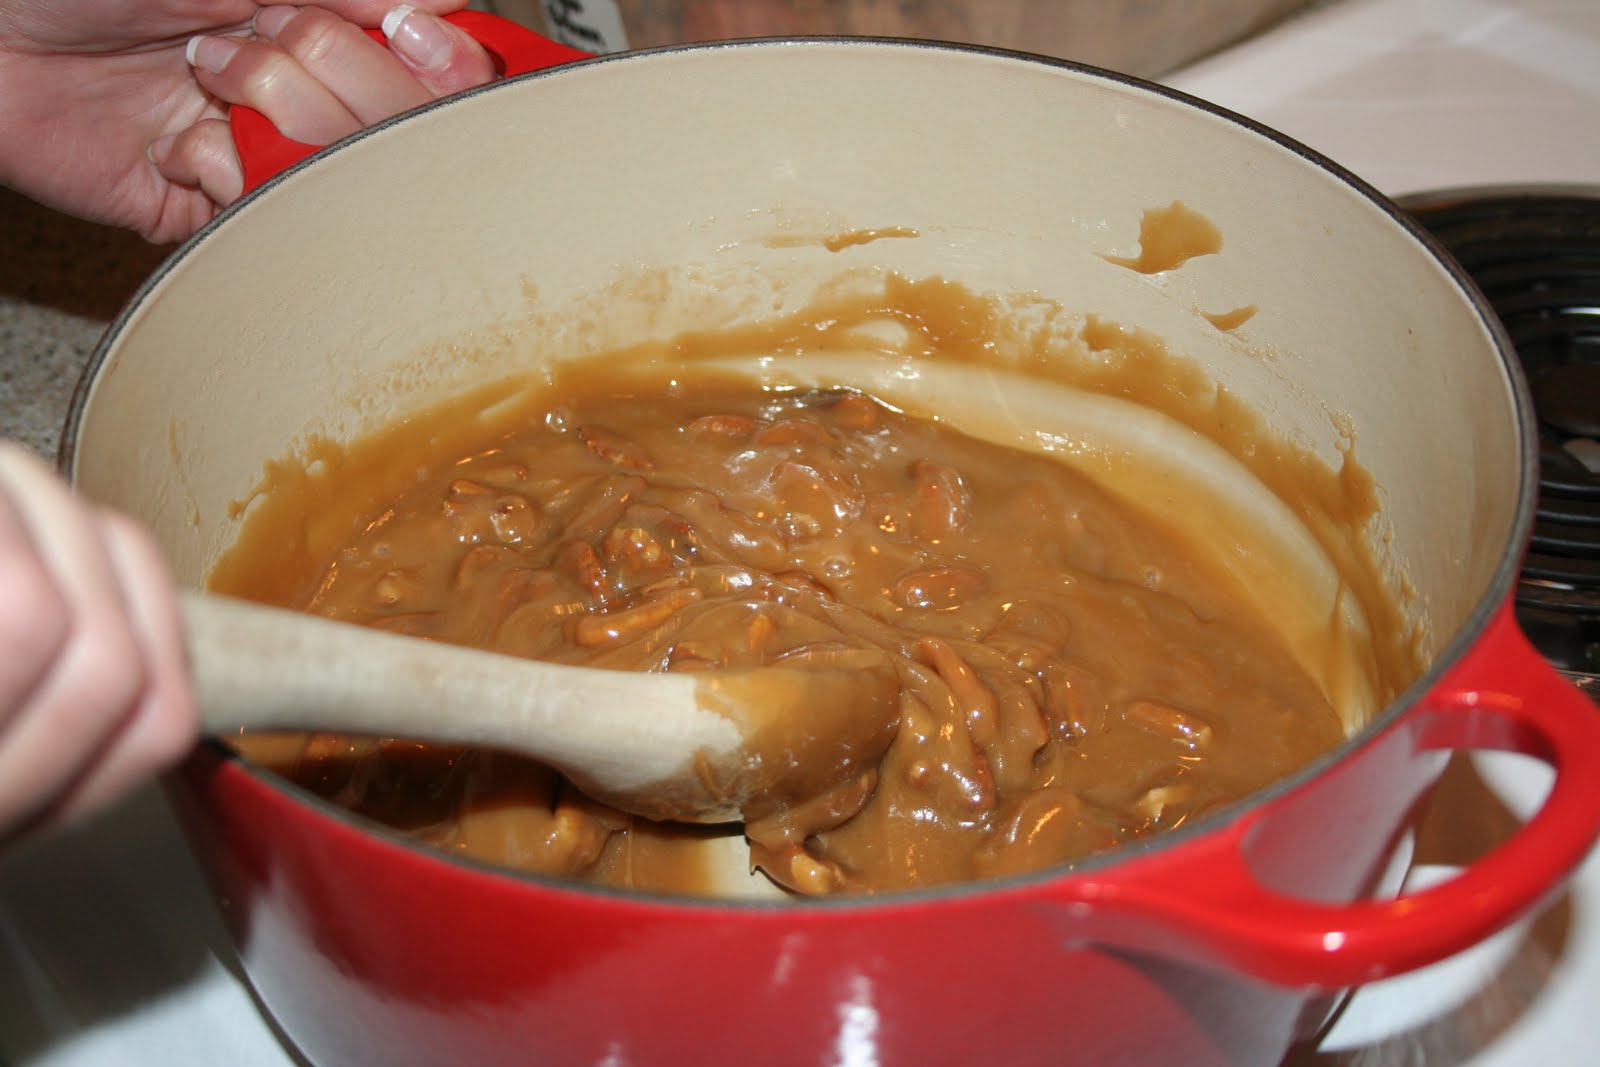
We used a Le Creuset dish which worked extremely well.  The recipe calls for a heavy 2-quart saucepan. We buttered the sides of the dish and emptied the sugar, salt, and corn syrup, milk, and butter into the pan. 


Stir mixture constantly over medium heat with a wooden spoon* until the sugars have dissolved and mixture comes to a boil. 

*We found it interesting they insisted we use a wooden spoon.  So what did we do? We googled it.  Pay a visit to this site if you would like to learn more.  The wooden spoon worked well for us!
Continue to cook to a 'soft ball' stage, approximately 236 degrees F on a candy thermometer. My candy thermometer worked AMAZING.  It is from Williams Sonoma and I highly recommend it.  It will be used many times to come.  THANK YOU JULIE AND LANCE!


COLD WATER TEST:  At this point, you can do a cold water test.  You drip the praline mixture into a cold glass of water. The ball of candy will flatten when you take it out of the water. It worked out for us...on the first try!


Remove from heat and allow to cool for 10 minutes.  After those minutes stir in the vanilla and pecans. We learned 10 minutes should be the max.  You should have everything laid out and ready to rock.  The mixture is the smoothest when it is right out of the dish.  As it hardens it becomes crumbly. Work fast...2 people helps.  We suggest using a tablespoon to scoop it out and another to scrape it off the spoon.  Otherwise you may lick your fingers due to pain and then end up with a burned tongue as well (ahhem). :)


The mixture yields about 18 pralines when they are made a tablespoon size.  We even toyed with the idea of using pecan pieces because the large size of the halved pecans made the lumps of candy larger than we thought necessary.


I am adding this on here for 'kicks."  The Paula recipe was by far our favorite.  It was more creamy and tasted better to us both.  I am not a huge candy person (unless we are talking chocolate) but the Paula Deen recipe was marvelous even to me!  This one, however, had wonderful ratings so it may be prefered by some.  And as Julie pointed out, the ingredients are ones you are most likely to have 'on hand' at any given moment.  You would have to purchse ingredients for the Paula Deen recipe.

This recipe uses half and half which I learned is the same as the recipes that call for 'light cream.' There are recipes that use heavy cream as well.  I am so stuck on the first recipe I may never venture out beyond it.


Ingredients:

2 cups granulated sugar
1 cups half-and-half
1/3 stick butter
1/8 teaspoon baking soda
1 1/2 cups whole pecans
Combine all ingredients except the pecans in a heavy saucepan. Over medium heat stir mixture until it comes to a boil. Turn heat down to medium-low and continue to stir. Spoon mixture up on sides of pan to melt any sugar that hasn't melted.  (It didn't get dark until the very end so be patient!)


Cook until mixture reaches 238 to 241 degrees F on a candy thermometer or soft ball stage. Stir in the pecans. Remove from heat. Stir until the mixture begins to thicken and becomes creamy and cloudy. Drop onto parchment paper, buttered pan or buttered marble slab, using a spoon or ice cream scoop. Let cool.

The finished results. (I am sad I didn't get the focus correct.  My new lense came in today so we will have to do something again soon to test it!)


Thursday, March 4, 2010

Fudge

This time, Julie and I tackled fudge.  She found 3 wonderful recipes to try: creamy chocolate fudge, peanut butter fudge, and chocolate mint fudge.  Instead of going step-by-step through all the recipes I will list the ones we did (with pictures, of course) and tell you what we learned/would do differently.

We began with the recipe we thought to be the easiest.  It turns out none were difficult (if you have patience over the stove stirring the chocolate.  If Julie wasn't there I would have surely become distracted.)  The Smiths have what I remember to be a 5 lb bag of chocolate chips from Costco.  I am embarrassed to say I couldnt keep that in my house. It would be the death of me.  I think I need a Costco membership...one day.

Onto the recipes...

Creamy Chocolate Fudge

Ingredients:

1 (7 oz) jar marshmallow crème
1 ½ cups white sugar
¼ tsp salt
1 cup semi sweet chips
¼ cup butter
2/3 cup evaporated milk
2 cups chocolate chips
1 tsp vanilla extract


Directions:
1) Line an 8 x 8 dish with aluminum foil.
2) Boil over medium heat: marshmallow, sugar, milk, butter, and salt. Bring to full boil for 5 minutes, stirring constantly.
3) Remove from heat, add chips. Stir until smooth. Add vanilla and chill until firm.

This would be my pick for a 'go-to' chocolate fudge recipe.  It was SO SIMPLE.  You cannot go wrong.  VERY fudgey and creamy.  The alumninum foil worked well.  Each recipe had a different suggestion.  Whereas the alumnium foil was not terrible, it could stick to the chocolate or make it appear wrinkle and for that reason I would recommend wax paper.

Peanut Butter Fudge
Ingredients:
4 cups white sugar
1 cup milk
1/2 cup butter
1 (7 ounce) jar marshmallow creme
12 ounces peanut butter
2/3 cup all-purpose flour

Directions:
1) Grease a 9x13 inch baking dish, set aside.
2) In a saucepan, combine sugar, milk, and butter. Bring to a boil, and cook 5 minutes. Remove from the heat. Stir in the marshmallow creme and peanut butter. Gradually stir in the flour. Spread into the prepared pan, and let cool.

This was my personal favorite.  We did make an alteration.  The peanut butter needed a chocolate layer on top so we used the recipe from the Chocolate Mint Fudge recipe below as a top layer.  It transformed into a homemade Reeses Cup.   I would highly recommend this recipe.  The consistency has more of a sugar texture and less of a creamy texture.  It is likely due to the flour.  It was the only recipe that contained flour.  I DO think you need to "let cool" in the frig.  It eventually ended up in the frige and set MUCH better after sitting in the fridge for a night. 

Chocolate Mint Fudge
Ingredients:
2 cups semi-sweet chocolate chips (12 ounces)
1 (14 ounce) can sweetened condensed milk, divided
2 teaspoons vanilla extract
6 ounces white candy coating
2-3 teaspoons peppermint extract (TOO MUCH IN OUR OPINION)
3 drops green food coloring (I would add 5)

Directions:
1) In a heavy saucepan, melt chocolate chips with 1 cup milk.
2) Remove from the heat; stir in vanilla.
3) Spread half into a waxed paper-lined 8-in. square pan; (I personally prefer to line the pan with foil and grease the foil with butter) chill for 10 minutes or until firm.
4) Meanwhile, in a heavy saucepan over low heat, cook and stir candy coating with remaining milk until coating is melted and mixture is smooth.
5) Stir in peppermint extract and food coloring.
6) Spread over bottom layer; chill for 10 minutes or until firm.
7) Warm remaining chocolate mixture if necessary; spread over mint layer.
8) Chill for 2 hours or until firm.
9) Remove from pan; cut into 1-in. squares.

This is similar to candy and less like the fudge we imagined.  I think we all agreed the mint was strong even using just 2 drops.  It did look pretty on the plate and would be great for St. Patty's Day.  I even like mint and chocolate but this was probably my least favorite.

Us with our POUNDS and POUNDS of fudge (don't worry...we didn't eat it all ourselves)!


We tried to be good.  Julie even bought these to snack on.  We remembered...after the fact...

This picture sums up what we felt towards sampling by the end of the night. No more!


Did someone say Fudge?

Monday, March 1, 2010

A different kind of 'Bachelor Party'

When I finished the GMAT on Saturday I knew exactly what I wanted to do....cook and bake.  I have an excellent fudge post coming.  Julie and I hit the kitchen again Sunday night.  But for now I must share the party pics from the "themed" Bachelor Party.  Oh yes I did.


The girls were greated at the door by Jake himself!
Thanks to Julie and Lance for the silver plate wedding momento.  It came in handy for the theme!
Here is a shot of the spread. Wait, we are missing something.
PLANES. Oh, that is better!
Enough said.
I tried Bakerella's red velvet recipe she posted this past week. (Oh, and I realized I spelled her name wrong AFTER the fact. Oops.)

This is a sample of the next blog post to come!
...and cheesy it was (as well as frustrating...but do we expect anything else).

Sunday, February 14, 2010

Corn and Shrimp Chowder...my favorite soup


Creamy (and SO EASY) Corn and Shrimp Chowder

This is MY FAVORITE recipe.  I make it sometimes weekly.  The only problem is I can't stop eating it - so it goes fast.  Bridget brought this to a potluck at work years ago and I knew I had to have it.  So thank you B!

Ingredients:
1/2 stick butter
1 medium onion
1 bunch of green onions
1 T of Zatarain's shrimp and crab boil (I use dry so it will last longer in my pantry http://www.zatarains.com/Products/Seafood-Boils/Crawfish-Shrimp-and-Crab-Boil-Bag.aspx)
.75 lbs of frozen salad shrimp (I use 1/2 of the big Publix frozen 1.5 lbs bags by the butcher)
1 can cream of potato soup
1 can cream corn
1 can whole kernel corn (drained)
1 pint half and half

Melt the butter in a pot. Saute both types of onions in the butter. Add shrimp boil. Stir. Add shrimp and cook until pink. Simply add the remaining ingredients and cook until warm.


I never use exact measurements by now...this recipe is almost impossible get wrong. (I LOVE Zatarains so sometimes I go overboard.)  I will try to come back and do step by step instructions next time I cook it for dinner!

Sunday, January 31, 2010

Cinnamon Rolls with Julie and Shelley - Two blondes make a right :)

Julie and I baked again this Saturday night.  This time...cinnamon rolls!  Cinnamon roles are something I've wanted to try to bake for awhile.  Julie had the brilliant idea of trying out two recipes.  We did one in the bread machine and one by hand.  They both turned out well, which you will find out below.  Forewarning...I might've been a little trigger happy.  We had too many great pictures.  For every 1 you see, there are 3 you are missing!  It's been the first time cooking with Julie that I've had my Canon Rebel.  I had a problem with it for the past week or so Lance helped me solve.  Let's just chalk it up to user error (mine).  The theme of the night...two blondes make a right!

Here are the ingredients (minus the cinnamon and optional pecans) needed to make cinnamon roles.  The flour is bread flour.   Cinnamon roles really are inexpensive and in these alumninum tins, make great gifts.


Here you will find my dough when mixed.  You will see how small it is before rising.  I felt as if the bread machine dough rose more than mine.  Sure enough, they both rose in the end. 


This is the dough out of the bread machine.  Please note Julie's happiness in this picture.  She was saying over and over, "This dough makes me soooo happy."  And she was right.  After all, who else would do this on a Saturday night?


The first recipe said to spread the melted butter on the dough and then top with this cinnamon toping.  We thought this was too much toping.  Instead, we found out you can really could use more.  This cinnamon mixture method ended up being the method of choice.  Read on to find out the other and why...


This was the fun part.  It is all taking shape.  Julie is a pro...


We only fit 7 in a pan.  We ended up having 2 left so you want to probably aim for 8 rolls per pan.  Both recipes make 2 pans.  One for you and one for a friend.  Or in my case, one for my coworkers (who will be happy on a Monday morning)!


Here you can see me rolling out the second batch of dough.  The first dough we referred to as the 'bread machine pudding dough' since it included a pack of jello pudding (interesing...I know).  The one I am working with in this picture rose on its own and, even though didn't rise as much as the pudding bread machine dough, was just as yummy.  


The second recipe called for the softened butter to be mixed in with the topping mix... Above I mentioned we like the melted butter spread on first, and the topping layered on top.  We think this keeps the cinnamon overflow from happening (and unfortuantely spilling in the oven).  You want to keep the cinnamon goodness in the roll and it worked better layering.


I am including this picture to demonstrate the cutting technique Julie taught me.  I wanted to start slicing from one side.  But by doing that, I would have lost count and likely had uneven pieces.  Instead, she had me cut once in the center.  And then split the two halves.  That way you have a better gauge on how big your slices need to be.  Make sense?   The pieces end up perfectly uniform.


Here we are trying to be patient...all 3 of us!


The results were well worth the wait!


Of course we sampled...


And there were others that REALLY wanted to!


Here we are with our finished product!  Like I said, each recipe makes two circular tins.  The recipe below is a combined version which brings out the best in both recipes.  We practically took the icing portion of one recipe and the roll part of the other!


Julie and Shelley's Cinnamon Rolls:
Dough:
1/4 cup warm water
1/4 cup butter, melted
1 (3.4 ounce) package instant vanilla pudding mix
1 cup warm milk
1 egg, room temperature
1 tablespoon white sugar
1/2 teaspoon salt
4 cups bread flour
1 (.25 ounce) package active dry yeast

Cinnamon swirl:
1/4 cup butter, softened (for spreading separate)
1 cup brown sugar
4 teaspoons ground cinnamon
3/4 cup chopped pecans

Icing:
1/2 (1.5 oz) package cream cheese, softened
1/8 cup butter, softened
3/4 cups confectioners' sugar
1/4 teaspoon vanilla extract

Directions:
In the pan of your bread machine, combine water, melted butter, vanilla pudding, warm milk, egg, 1 tablespoon sugar, salt, bread flour and yeast. Set machine to Dough cycle; press Start. When Dough cycle has finished, turn dough out onto a lightly floured surface and roll into a 17x10 inch rectangle. Spread with softened butter. In a small bowl, stir together brown sugar, cinnamon and pecans. Sprinkle brown sugar mixture over dough. Roll up dough, beginning with long side. Slice into 16 one inch slices and place in 9x13 buttered pan. Let rise in a warm place until doubled, about 45 minutes. Meanwhile, preheat oven to 350 degrees F (175 degrees C).

Bake in preheated oven for 15 to 20 minutes. While rolls bake, stir together cream cheese, softened butter, confectioners' sugar, vanilla and milk. Remove rolls from oven and top with frosting.

*Editor's note 6/16/2013:  I never use a bread machine (since I don't have one on my own and really don't need one in my kitchen!) so don't let that stop or intimidate you.  You want to be sure they double in size when they rise each time.  The attic works well in the summer.  I actually freeze them often after I let them cool completely and ice them.  When I freeze, I wrap in saran wrap and put each in a gallon ziplock bag.

*Editor's note again 12/29/16:  Here I am years later, in Idaho, still making these jewels (and without a bread machine) for my neighbors for the holidays.  I honestly let them rise sometimes 2 hours at a time - maybe it is the dry, cool air here.  The recipe makes 2 of the round tins you can often find at the dollar tree.  I find you want to make sure you get a good first rise before you roll them and let them rise again.  But no fear, when you bake them they always rise even more.   I cook them 20 minutes but cover then part of the time to keep from browning with this oven.  Also, the recipe makes PLENTY of icing.  You won't want to use it all - it is too much.  I ofen put it in a ziplock bag and cut the tip to ice in zig zags.  You can always make the cut larger but you can't make it smaller - remember that!